This tutorial will show you how to :
The result of this tutorial is a simulation of commucations beetwen computers.
Insert the login and the password given in our e-mail.
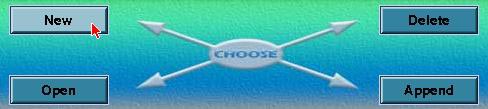
Click on the 'New' button.
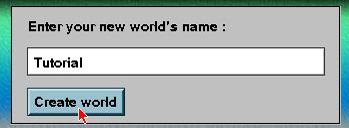
Then, name your new world (for example 'Tutorial') and click the 'Create world'
button.
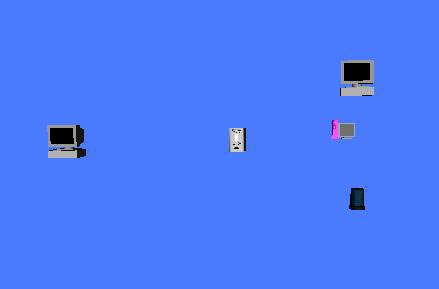
There will be 5 objects in this world :
- the sender, who asks
for the communication (a remote machine),
- a firewall,
- 3 local machines, including the receipient of the communication.
Click the 'Object' icon
: >, then the 'Add' button
- Select the PC library and the PC object. Name this object(for example 'Sender'), and add it to origin.

The object is added
to origin of the world.
- Select the linuxServeur object,name it ('firewall' for example) and add it like the 'Sender'.
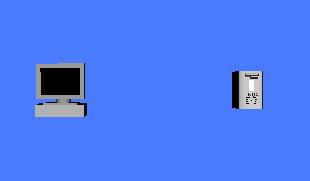
The firewall is added at the same position of the sender. You'll have to move it for a better visualization.
Click the 'Object' icon, then the 'Modify' button.
Select the firewall and translate it to become it visible.

Don't forget to validate your modifications.
Then, add machines (PC or SGI library), with the firewall as parent. (Children of the firewall will follow its translations and its rotations).

Modify the objects in order to become them visible :
Click the 'Text' icon
 and the 'Add' button.
Name your text, describe it (the text displayed in VRML), select a color (by default blue), and select the parent of this text :

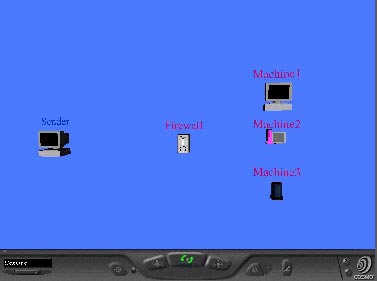
Then, click the 'Add' button, 'Sender' appear in the VRML world.
The text is added at the origin of the world, you have to move above the 'Sender' object.

Restart this operation to name the other objects.
Here is one of the possible VRML result :
Click the
'Link' icon and the 'Add' button.
First, select 2 objects to link (the sender and the firewall), name the link 'extenal', select a color, a size (0.05 is the most appropriated)and the click the 'add' button :

Restart this operation to link the firewall with the other objects (with another color) :

Here is the VRML result :

Click the 'Viewpoint'
icon and the 'Add' button.
First, create a global viewpoint, with all visible objects :
Name your viewpoint and describe it, then click the 'add' button :
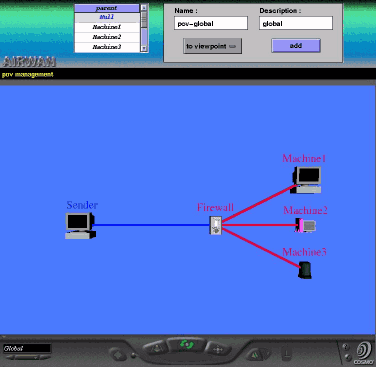
Then, create a viewpoint for every object in the scene.
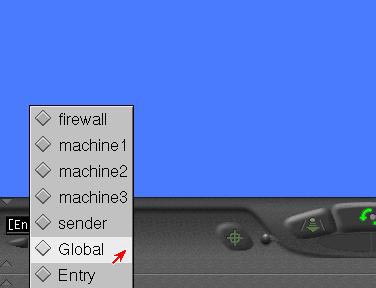
Move yourself in front of the sender, and restart the last operation, with selecting the viewpoint's parent:

The viewpoint list appears in the bottom-left corner of the VRML plugin:
Create an animation
This animation is a simulation of a communication : the sender visits a web site.
- First, we have to change the text of a machine.
Click the 'Text' icon, then the 'modify' button.
Select the text to be modified, insert the new text ('Web-Server' for example) in the appropriated textfield, click 'set', and then validate your modification :

The text is changed in the VRML scene :

-Secondly, we have to add an object representing the communication (an IP packet):
In the 'add object' window, select the 'Various' library and the cube object. Name it 'packet', then add it with no parent (the location of the object isn't important because it will be moved) .
-Finally, we have to create the animation of this object.
Click the 'Script' icon
 .
.
Animating an object means giving it successive positions according to a period.
So, we have to determinate the route of the packet.
The first postion is the sender. Move yourself INSIDE the sender then click the 'position' button :

Restart this operation with the second position, that is the firewall, then the Web-Server that return a new packet, again the firewall and finally the new packet return to the sender.
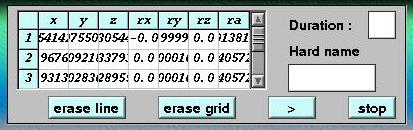
Now, we have to set a period (in seconds) for this animation : for example 20 .
The textfield 'Hard name' is the name of the object that will be animated : the IP packet object named 'packet'.
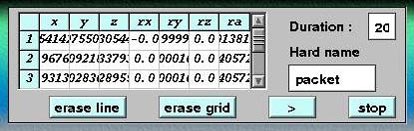
Now, click the play button ('>') : the packet start moving.

Now, you're ready to use Airwan
Good luck to build your future worlds . You could ask questions to support@airtria.com